A Complete Guide to Changing Your Apple Watch Band
Introduction:
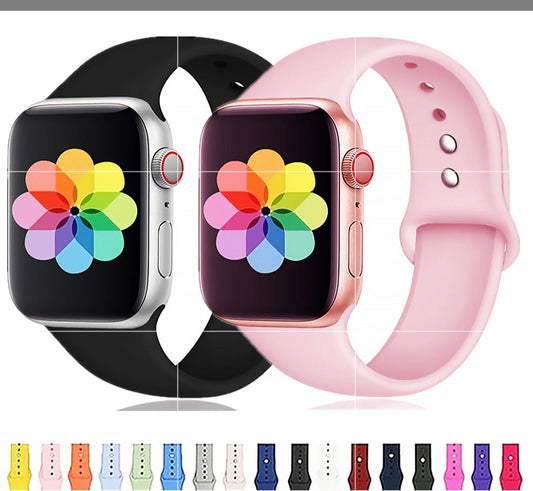
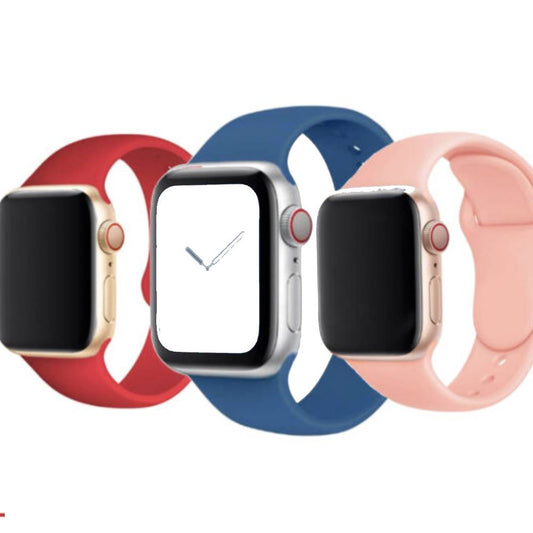
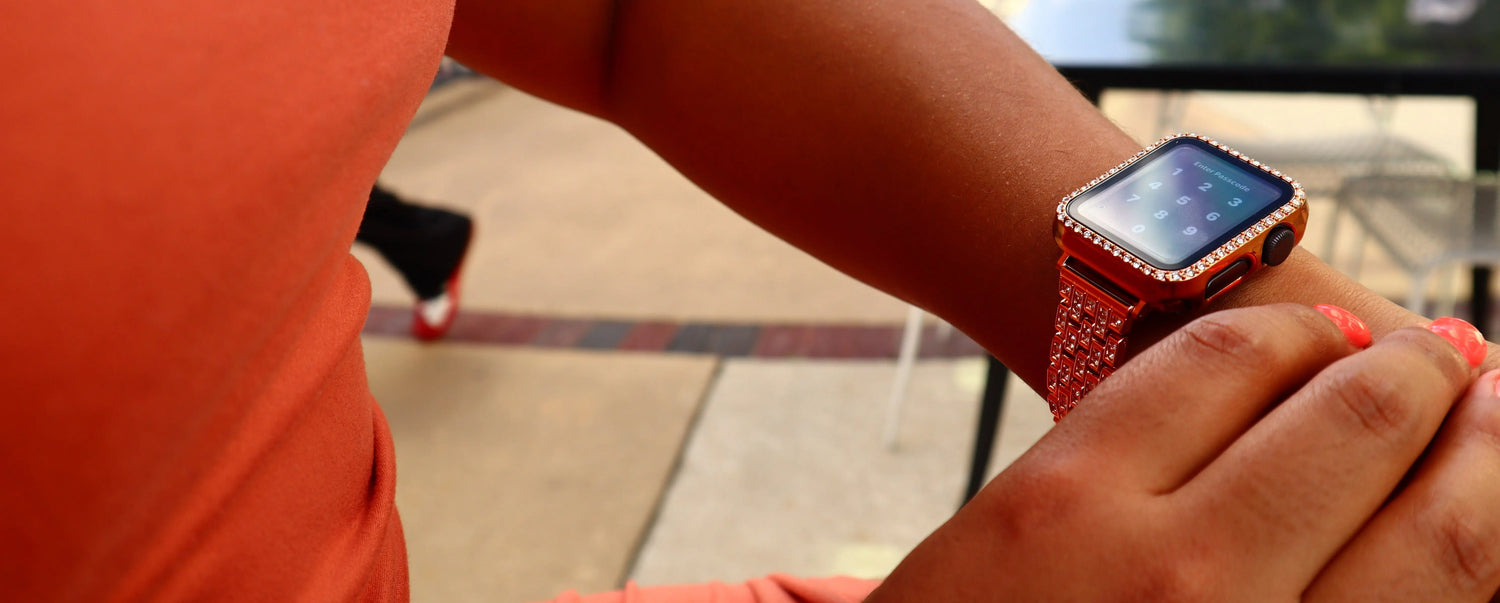
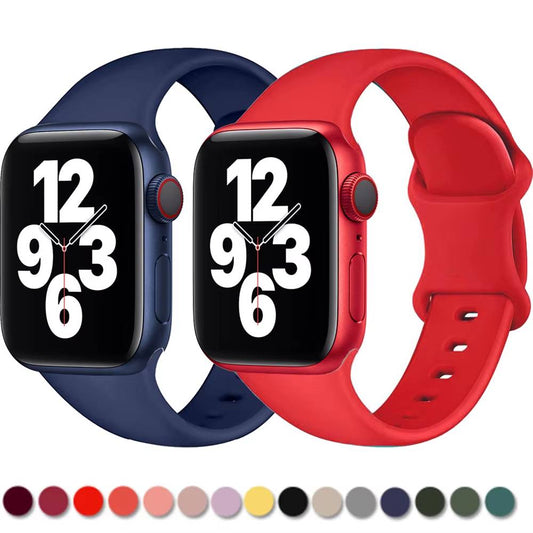
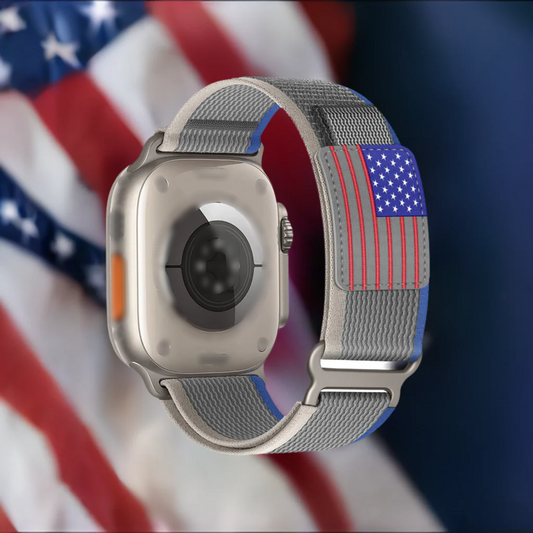
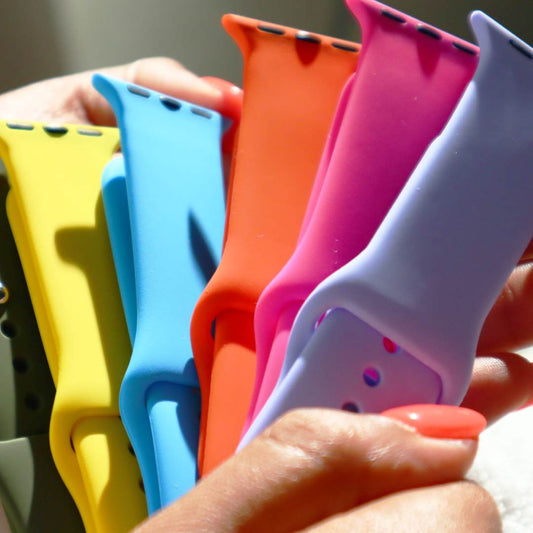
Wristwatches have come a long way from being mere time-telling devices to becoming fashion statements and functional accessories. Apple Watch, a pioneer in smartwatches, offers a versatile range of watch bands that allow users to personalize their timepieces to suit their style and activities. In this comprehensive guide, we will walk you through the process of changing your Apple Watch band, addressing common questions and concerns along the way. Whether you're a tech enthusiast or a fashion-forward individual, this article will provide you with valuable insights on enhancing your Apple Watch experience.
How to Change Apple Watch Band:

Changing your Apple Watch band is a straightforward process that can be completed in just a few simple steps. Begin by placing your watch face down on a soft and clean surface to prevent any scratches. Locate the two release buttons on the back of the watch band and simultaneously press and hold them. While holding the buttons, gently slide the existing band out of its slot. Align the new band's connectors with the corresponding slots on the watch, ensuring a snug fit. Once aligned, slide the new band into place until you hear a satisfying click. Finally, give the band a gentle tug to ensure it is securely attached. Remember, practice makes perfect, and with a little patience, you'll be changing bands like a pro in no time.
How Do I Change My Apple Watch Band?

If you're new to the world of Apple Watch bands, fear not. Changing your band is a user-friendly process that requires minimal effort. First, power off your Apple Watch and lay it face down on a clean and soft surface. Locate the band release buttons on the back of the watch. These buttons vary depending on the model, so consult your user manual if needed. Hold both buttons simultaneously and gently slide the existing band out. Align the new band's connectors with the corresponding slots on the watch and slide it in until you hear a click. Power on your watch, and voilà – you've successfully swapped your Apple Watch band. Embrace the freedom to switch between bands to match your style and activity, whether it's a formal occasion or an intense workout session.
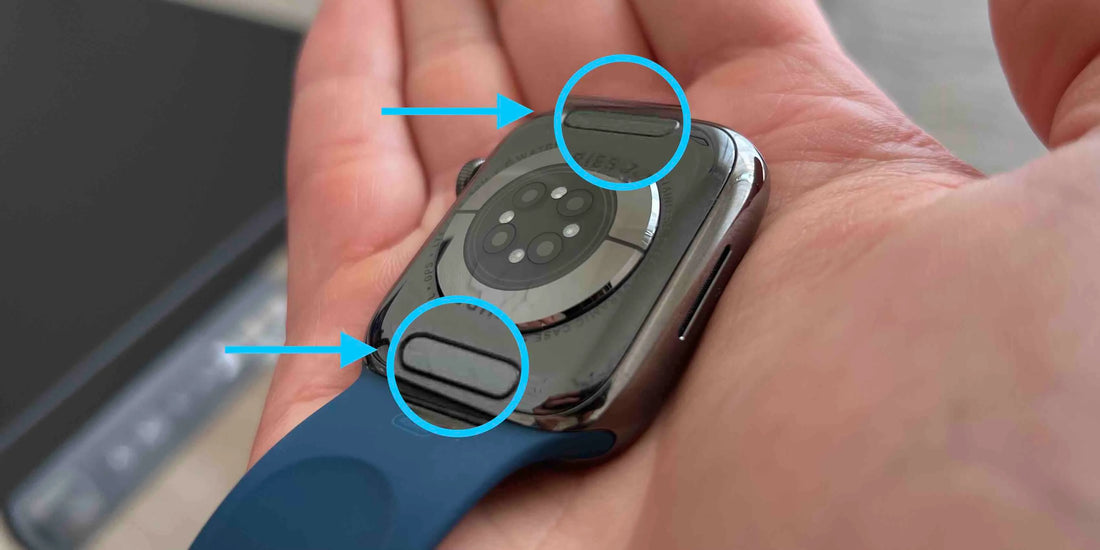
Where Is the Apple Watch Band Release Button?

The Apple Watch band release button is a crucial element in changing your band. On most Apple Watch models, these buttons are located on the underside of the watch, near where the band attaches. They might appear as small, rectangular buttons or circular depressions. Pressing and holding these buttons simultaneously will unlock the band from its slot. It's important to note that the button's design may vary across different generations of Apple Watches. For instance, the Series 6 features buttons integrated into the band attachment points, while earlier models have distinct button placements. If you're unsure about the location of the release buttons on your specific watch, refer to your user manual or Apple's official support resources for accurate guidance.
Why Won't My Apple Watch Strap Come Off?

Encountering difficulty while trying to remove your Apple Watch strap can be frustrating, but there are a few potential reasons for this issue. Firstly, ensure that you are pressing and holding the band release buttons simultaneously. Applying equal pressure to both buttons is crucial for releasing the band from its slot. If the buttons are pressed unevenly, the band might not budge. Additionally, some bands may become snug over time due to wear and tear or exposure to moisture. In such cases, try gently wiggling the band while pressing the release buttons to help loosen it. If the band still won't come off, inspect it for any debris or obstructions that might be hindering its removal. If all else fails, consider seeking assistance from an authorized Apple service center to prevent any accidental damage to your device.
Conclusion:
Your Apple Watch is a versatile accessory that adapts to your style and needs, and changing the band is a simple yet transformative way to make it uniquely yours. By following the steps outlined in this guide, you'll confidently switch between bands to match various occasions and activities. Remember, patience is key, especially if you encounter any resistance when removing your old band. With the knowledge gained from this article, you'll be equipped to navigate the world of Apple Watch bands with ease and elevate your wrist-wearing experience to new heights.